
Hi again, he he he!!! Hope you like this tut is the first one with black background. I hate made tags with animations, because when I try to optimize the tag never go well as I like. But I love to see the animations when they are good, so mine you know now are bad for me...lol.
For this tut you will need the following things:
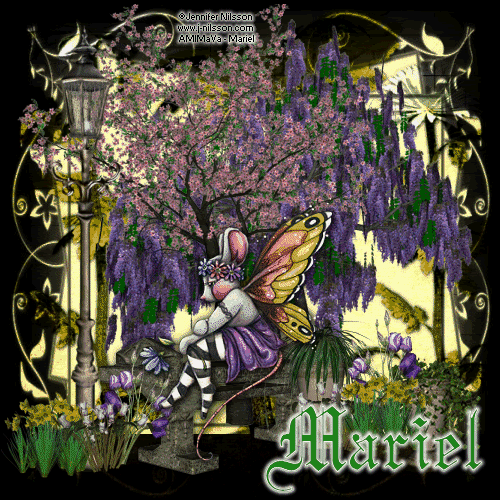
First of all the beautiful scrap kit freebie from Designs by Ali, called "Green Green Garden", you can download this kit HERE.
The tube is one of the beautiful art of ©Jennifer Nilsson, you need a licence number from AMI for use it, and can purchase her tubes and images HERE.
You can find the mask # 26 HERE.
Let's begin:
1.- Open a new raster layer of 500 x 500 pixels. Transparent.
2.- Copy and paste as new layer DBA_Paper 13. Resize to 75%. then open your mask # 26 in your PSP and go to masks/new mask/from an image. Apply the mask to the paper layer, and then again go to masks/delete mask. Add drop shadow of choice.
3.- Copy and paste as new layer DBA_Tree 2 and resize to 80%, then do the same with DBA_Tree 1. Apply drop shadow if you like. And again do the same with DBA_Tree 3.
4.- Copy and paste as new layer DBA_Lamp Post 1, resize to 50%, add drop shadow as you used before.
5.- Copy and paste as new layer DBA_Garden Seat 1, resize to 50%, add drop shadow.
6.- Copy and paste as new layers some of the beautiful flowers of choice, resize to convenience, and add drop shadow as you can see in my image.
7.- Copy and paste as new layer both DBA_Flower Pots 1 and 2. resize to 20% nd put as you can see in my image.
8.- Copy and paste the ©Jennifer Nilsson tube, and resize to convenience. Add drop shadow twice.
9.- Now merge all visible layers and add your licence number.
10.- In PSP copy the image you have now from your tag, now open your Animation, and paste as new animation, then again go to PSP, and with you airbrush tool, with the following settings:

Made one touch in the Lamp Post, then again copy in your PSP this image, and go to Animation and Edit/ paste forward the actual frame of your animation.
Do this one more time, with your airbrush made a new touch in your lamp post again. Copy and go to Animation and Edit/paste forward the actual frame.
Now in your Animation you have a new animation with three frames, in the last frame, go to: Frame Properties and put in 100.
Then add your name as you usually do in Animation, and if you like you can put as I did in a black background, just open a new animation of 500 x 500 pixels, colour black, duplicate the image three times and paste the first animation in the new black background.
11.- Optimize your tag as you usually do, and save as gif.
It's done.
I hope you like it. I love to see all you result, if you want you can send me your tags with the results of my tuts to: newartisticdreams@gmail.com
Thank you for try this and the others tuts.This tutorial was writting by me, Mariel - Artistic Dreams© on 31th of march of 2009, any resemblance to any other tutorial is completely coincidental.
Mariel - ©Artistic Dreams


No hay comentarios:
Publicar un comentario