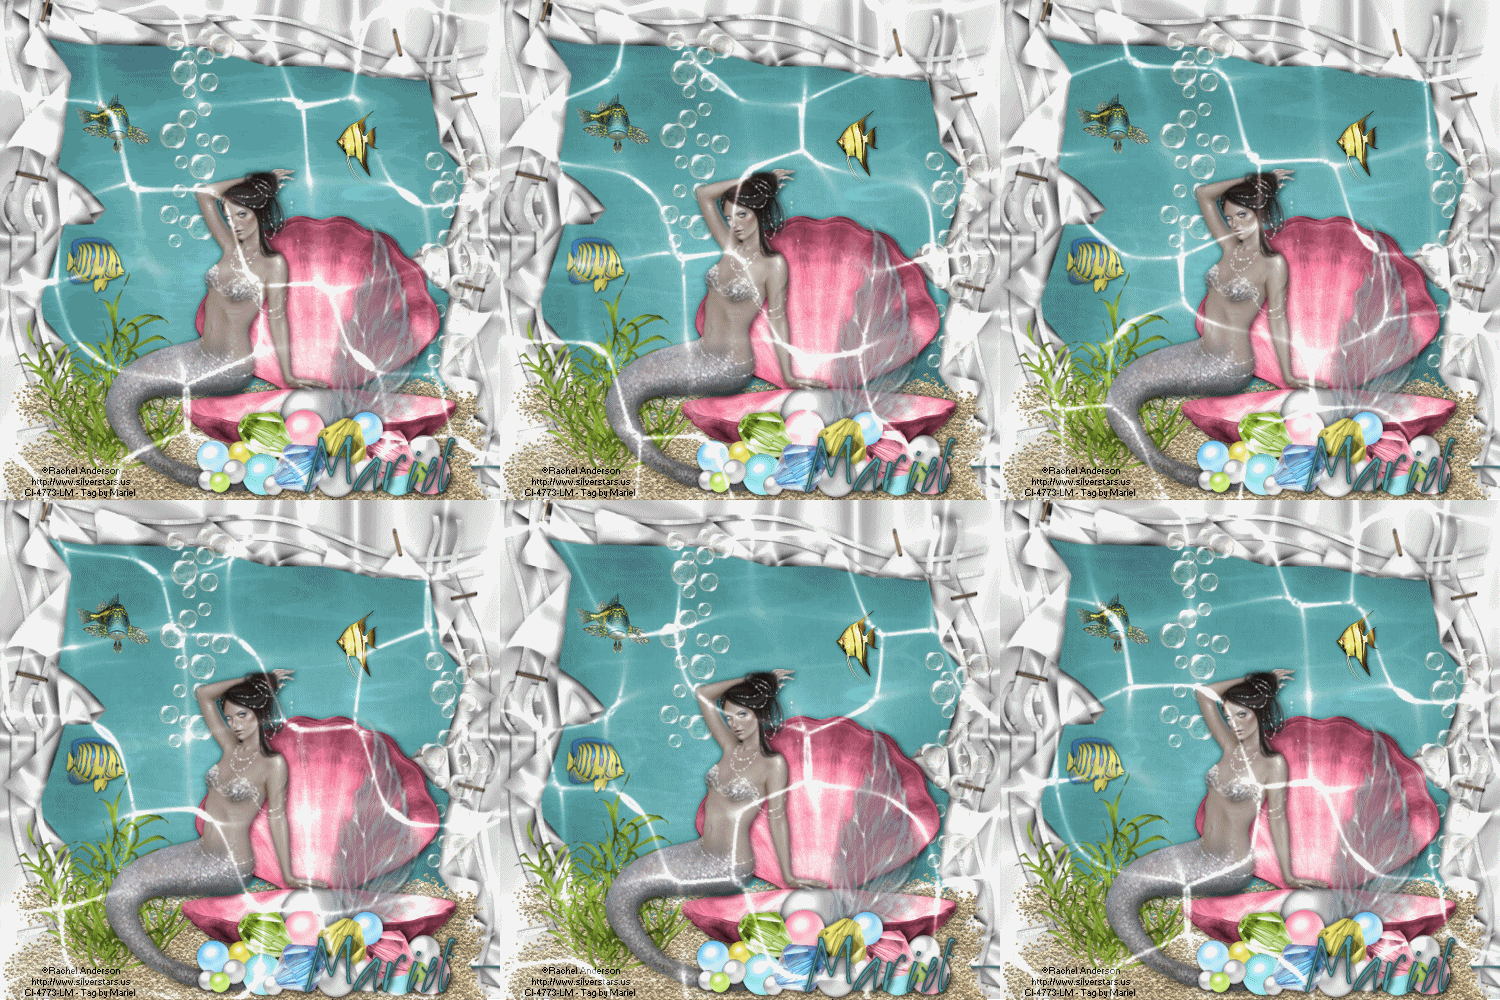
For this tut you will need the following things:
The beautiful scrap kit from Karla Scrapz, called "Under the Sea", is a PTU and you can purchase this kit HERE.
The tube is one of ©Rachel Anderson, from CILM, you can purchase her tubes HERE.
Let´s begin:
1.- Open a new raster layer of 500 x 500 pixels.
2.- Copy and paste as new layer k-s sand, resize to 75%. Move this layer down as floor. See my image for help.
3.- Copy and paste as new layer k-s algae1, resize to 40%, put as you can see in my image.
4.- Copy and paste as new layer k-s oyster, resize to 50%. Now copy and paste as new layer k-s perla, resize to 75%, add drop shadow and put this layer into the oyster, see my image for help.
5.- Copy and paste as new layer the ©Rachel Anderson tube, resize to convenience, add drop shadow of choice.
6.- Copy and paste as new layer k-s treasures, resize to convenience, and add drop shadow as before.
7.- Copy and paste as new layer k-s bubbles 1, resize to 20%, go to layers/duplicate this layer and move those as you can see in my image.
8.- Copy and paste as new layer k-s Paper 11. Resize to convenience, put this layer as background of your image, and the copy and paste as new layers the fish of your choice, resize to convenience, and put the fish into the water. Add drop shadow as before.
9.- Now merge all visible layers, and add your licence number.
10.- Copy this merge layer, open your Animation, and paste there as new animation. Go to effect/ insert image effects/ and choose Underwater effect. Personalice the effect as you like.
11.- Write your name in your PSP, with a font of choice and colour like water, copy and paste in Animation, as you can see in my image. Before you do this, delete the first frame to the animation, because if not the effect is incomplete. If you don't do that you will see a jump to start and finish.
12.- Optimice your tag, and save as gif.
It's done.
I hope you like it.
I love to see all your results, if you want you can send me your tags with the results of my tuts to: newartisticdreams@gmail.com
Thank you for try this and the others tuts.
This tutorial was writting by me, Mariel - Artistic Dreams© on 26th of may of 2009, any resemblance to any other tutorial is completely coincidental.
Mariel - ©Artistic Dreams


No hay comentarios:
Publicar un comentario